


Here is a brief overview of AWS CloudFormation:
CloudFormation is an AWS service that allows you to manage, configure and provision AWS infrastructure as code. With CloudFormation, you can define your infrastructure resources in a template file and then use that file to automatically provision all the resources needed for that infrastructure.
Some key things to know about CloudFormation:
Infrastructure as Code - CloudFormation allows you to define and provision AWS resources programmatically using a template written in JSON or YAML. This allows you to manage your infrastructure as code.
Resource Provisioning - Based on the template, CloudFormation will automatically provision the resources defined, such as EC2 instances, RDS databases, VPCs, etc. This removes the need to manually create resources.
Management & Updates - You can update your stack or make changes to the infrastructure via the template. CloudFormation handles all the provisioning and config changes necessary.
Reproducible Infrastructure - Templates allow you to recreate your infrastructure easily in multiple environments like dev, test, prod.
Cost Savings - Provisioning resources as code allows you to minimize errors and wasted spend. Deleting a stack also cleans up all associated resources.
So in summary, CloudFormation gives developers and sysadmins an easy way to create, manage and provision AWS infrastructure as code, enabling automation and efficiency. It does this via templates that model the desired resources and their dependencies.
In the following of this article, we will see how to create and update an S3 bucket with CloudFormation.
create cloudFormation template
With your preferred text or code editor, create a
template-and-stack.yamlfile. and place the following content in it:Resources: S3Bucket: Type: AWS::S3::Bucket Properties: BucketEncryption: ServerSideEncryptionConfiguration: - ServerSideEncryptionByDefault: SSEAlgorithm: AES256Here is a sample CloudFormation template that defines an S3 Bucket. It has a single resource that contains the S3 bucket
Create stack
Open the AWS CloudFormation ➡️ link in a new tab and log in to your AWS account
Choose Create stack (With new resources (Standard) from the top-right side of the page.
In Prepare template, choose Template is ready.
In Template source, choose Upload a template file.
Choose the Choose file button and navigate to your workshop directory.
Select the file
template-and-stack.yamlreferenced in step 1.Choose Next.
Provide a Stack name. For example
cfn-workshop-template-and-stack.The Stack name identifies the stack. Use a name to help you distinguish the purpose of this stack.
Choose Next.
Choose to accept default values for Configure stack options; choose Next.
On the Review <stack_name> page, scroll to the bottom and choose Submit.
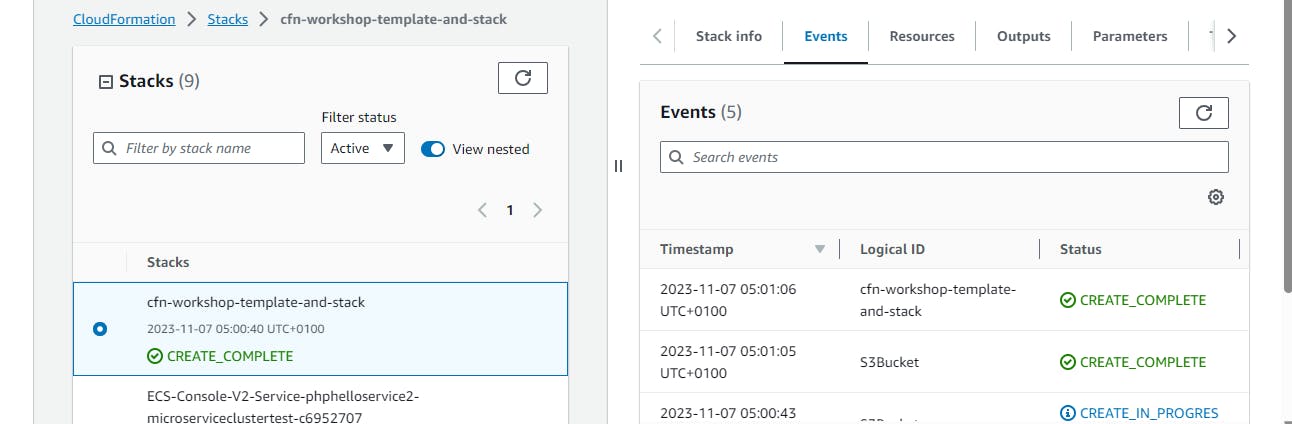
Use the refresh button to update the page as needed, until you see the stack has the CREATE_COMPLETE status.
Update template
We will enable versioning on the S3 bucket to prevent objects from being deleted or overwritten by mistake or to archive objects so that you can retrieve previous versions of them.
Create a
VersioningConfigurationproperty in thePropertiessection of the S3 resource.Set the
StatustoEnabled.Update the stack to reflect the changes made in the template.
Resources: S3Bucket: Type: AWS::S3::Bucket Properties: BucketEncryption: ServerSideEncryptionConfiguration: - ServerSideEncryptionByDefault: SSEAlgorithm: AES256 VersioningConfiguration: Status: Enabled
Update Stack
Log in to the AWS CloudFormation console in a new browser tab.
Select the stack name, for example
cfn-workshop-template-and-stack.In the top right corner select Update.
In Prepare template, choose Replace current template.
In Template source, choose Upload a template file.
Select Choose file button and navigate to your workshop directory.
Choose the file
template-and-stack.yamland select Next.On Specify stack details page, select Next.
On the Configure stack options page, select Next.
On the Review <stack_name> page, scroll down and wait for the Change set section to complete. Then select Submit.
Wait for the stack status to reach UPDATE_COMPLETE. You need to periodically select Refresh to see the latest stack status.
Clean up
Follow these steps to clean up created resources:
In the CloudFormation console , select the stack you have created in this lab. For example
cfn-workshop-template-and-stack.In the top right corner, select Delete.
In the pop-up window, select Delete.
Wait for the stack to reach the DELETE_COMPLETE status. You need to periodically select Refresh to see the latest stack status.